Hands-On or Hands-Off? A Homeowner's Framework for Pool Cover Bracket Installation
The appeal of handling pool cover bracket installation yourself is straightforward: labor costs are real, scheduling contractors takes time, and many homeowners are capable of more than they're given credit for. Yet the consequences of a poorly anchored cover—water infiltration, hardware failure, safety hazards, or voided warranties—can easily outpace whatever was saved on installation day.
The question, then, is not simply can you do it yourself. The more useful question is should you, given your specific pool configuration, the bracket system you've selected, and the tools and experience you actually have on hand.
What DIY Pool Cover Installation Actually Involves
Before evaluating your options, it helps to understand the full scope of what installation entails. At minimum, a standard pool cover bracket installation requires:
- Accurate measurement of the pool perimeter and cover dimensions
- Selection and placement of anchor points along the deck
- Drilling into concrete, pavers, or another deck substrate
- Installing brass or stainless anchors to the correct depth and spacing
- Tensioning the cover evenly using a ratchet or winding rod
- Verifying load distribution and confirming the cover lies flat without pooling
Each of these steps carries its own margin for error. Some are genuinely manageable for a competent homeowner. Others carry risks that compound quickly if they go wrong.
Tasks Most Homeowners Can Realistically Handle
For pools with a standard rectangular shape, a concrete or paver deck in good condition, and a conventional winter safety cover using brass anchor hardware, the following tasks are typically within reach for a homeowner with basic mechanical aptitude:
Measurement and layout. Marking anchor positions according to the manufacturer's spacing guidelines is largely a matter of careful measurement. Most cover manufacturers provide clear documentation, and errors at this stage are correctable before any drilling begins.
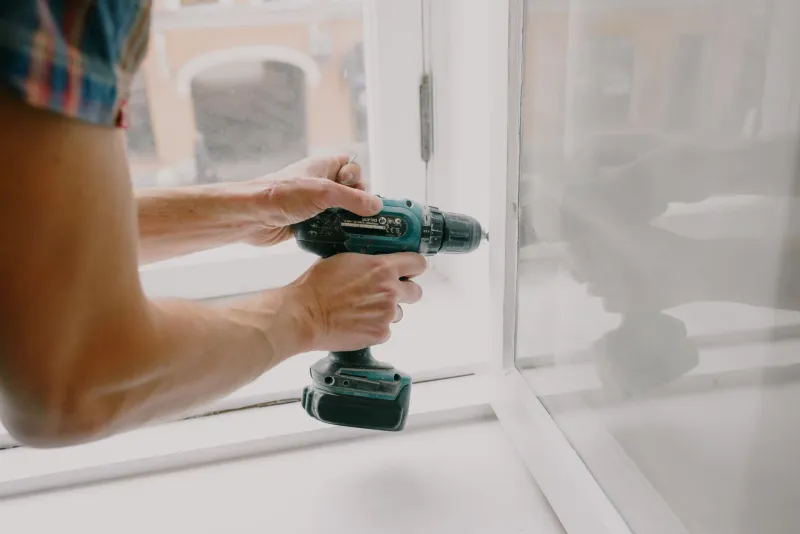
Anchor installation in solid concrete. A hammer drill, the correct masonry bit size, and a steady hand are the primary requirements. If your deck is structurally sound and free of cracks, drilling anchors to the specified depth is a task that many homeowners complete without incident.
Cover tensioning. Attaching the springs, threading the straps, and working through the tensioning sequence with a winding rod is time-consuming but not technically complex. Manufacturer instructions are typically thorough.
If your pool is rectangular, your deck is in good shape, and you are comfortable operating a hammer drill, a straightforward winter cover installation is a reasonable DIY project.
When the Calculus Changes
Several variables shift the risk profile considerably—and should prompt serious reconsideration of the DIY approach.
Irregular pool shapes. Freeform, kidney-shaped, or L-shaped pools require custom anchor placement that accounts for uneven tension distribution. Errors in anchor positioning on non-rectangular pools can cause the cover to shift under load, creating gaps that defeat the cover's purpose entirely.
Damaged or aging decks. Concrete that is cracked, spalling, or underlaid with voids may not provide adequate anchor holding strength. Drilling into compromised concrete risks widening existing damage and may result in anchors that pull free under tension. A professional can assess substrate integrity before committing to a placement plan.
Elevated or in-ground pools with complex surrounds. Pools with raised bond beams, multi-level decks, or specialty materials such as natural stone or composite decking require bracket hardware and installation techniques that differ from standard concrete applications. Improper fastening into the wrong substrate can damage the deck and compromise anchor security simultaneously.
Automated or motorized cover systems. Retractable covers, hydraulic systems, and motorized track-based covers are not DIY territory for the vast majority of homeowners. These systems involve electrical components, precise track alignment, and tensioning tolerances that require calibrated equipment and manufacturer-specific training.
Commercial or large-format residential pools. Pools exceeding 20 feet in width or with elevated bather load requirements are typically subject to local code requirements around cover safety ratings. Professional installation ensures compliance documentation is in order—a detail that matters significantly when insurance claims or liability questions arise.
The Tool Requirement Question
One factor homeowners frequently underestimate is the tool investment required for a proper installation. A standard winter cover installation on a concrete deck requires, at minimum:
- A rotary hammer drill (not a standard drill)
- Masonry bits in the correct diameter for your anchor hardware
- A torque wrench or driver with appropriate settings
- A cover winding rod
- A level and measuring tape
If you do not already own a rotary hammer drill, renting one is straightforward and relatively inexpensive. However, if you find yourself needing to purchase multiple specialized tools to complete a single installation, the cost gap between DIY and professional installation narrows considerably.
A Decision Framework by Pool Type
The following framework is intended to help homeowners make a clear-eyed assessment:
| Pool Type | Deck Condition | Cover System | Recommendation |
|---|---|---|---|
| Rectangular, standard size | Solid concrete or pavers | Standard winter safety cover | DIY feasible with preparation |
| Rectangular, standard size | Cracked or aging concrete | Standard winter safety cover | Professional assessment recommended |
| Freeform or irregular | Any | Standard cover | Professional installation advised |
| Any shape | Any | Motorized or retractable system | Professional installation required |
| Commercial or large residential | Any | Any | Professional installation required |
Common Mistakes That Erase the Savings
Among the most frequently observed DIY errors in pool cover bracket installation:
- Incorrect anchor spacing, which creates uneven tension and allows the cover to shift or sag in sections
- Insufficient drill depth, leaving anchors that appear secure but lack the holding strength to perform under load or in high winds
- Over-tensioning, which stresses the cover material and can damage grommets or seams within a single season
- Skipping the perimeter inspection after installation, which allows small misalignments to go undetected until the cover fails
Each of these mistakes is avoidable with careful adherence to manufacturer specifications. However, each is also more common than most homeowners expect on a first installation.
Making the Final Call
The labor savings from a DIY pool cover bracket installation are real—typically ranging from $150 to $400 for a standard residential project, depending on your region and the scope of work. For a competent homeowner with the right tools, a rectangular pool, and a solid deck, that saving is entirely defensible.
For everyone else, the more prudent calculation weighs that saving against the cost of a misinstalled cover: a replacement cover that failed prematurely, a deck repair from improper drilling, or a safety incident that a properly tensioned cover would have prevented.
The bracket is only as reliable as the installation behind it. Knowing your limits is not a concession—it is the first step in getting the job done right.